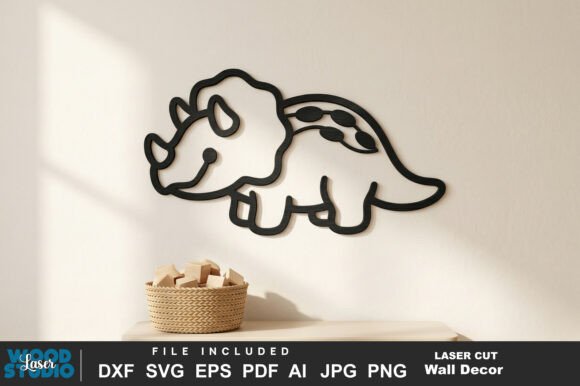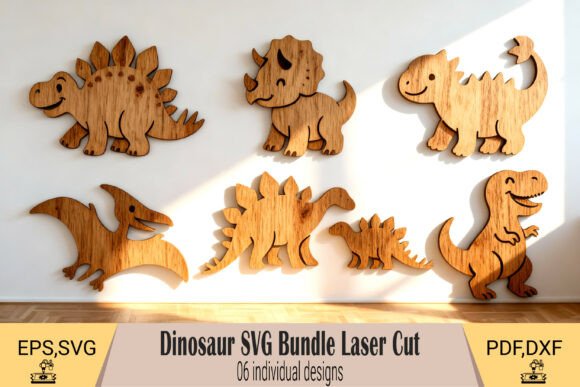
Unlocking Prehistoric Charm: A Practical Guide to Dinosaur Wall Art SVG
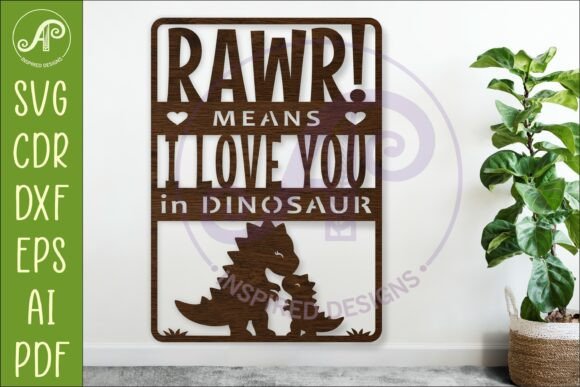
There is a distinct magic in watching a flat sheet of wood or acrylic transform into a dimensional, roaring T-Rex or a gentle Brachiosaurus. This Layered Dinosaur Wall Art SVG set brings prehistoric charm to your home, kids' rooms, and party décor in a way that standard flat decals simply cannot match. However, diving into the world of layered vector files requires more than just a keen eye for design; it demands an understanding of how these files interact with your specific machinery and materials. Whether you are a seasoned shop owner or a parent looking to spruce up a nursery, avoiding common pitfalls can save you time, material costs, and significant frustration.
At its core, a layered dinosaur design is a collection of individual vector paths stacked to create depth and shadow effects. This bundle typically includes multiple dinosaur designs, each carefully crafted with specific cut layers. The files are provided in versatile formats like SVG, DXF, EPS, and PDF, often accompanied by AI or PNG previews, making them compatible with Cricut, Silhouette, Glowforge, CNC routers, and laser cutters. Yet, the mere possession of these files does not guarantee a perfect result. Many creators overlook the nuances of file preparation and machine calibration, leading to projects that look disjointed rather than cohesive.
The Trap of Ignoring Material Thickness
One of the most frequent mistakes beginners make when working with layered shadow box art is selecting materials without calculating the cumulative thickness. When you stack three or four layers of 3mm plywood or acrylic to achieve that sought-after 3D effect, the total depth changes significantly. If you do not account for this in your mounting hardware or frame selection, the final piece may not fit into a standard shadow box, or the sides may remain exposed in an unfinished manner.
To avoid this, always measure your intended material before cutting. If you plan to use these designs as wooden wall art plaques, consider the kerf of your laser or the blade drag of your CNC. A better approach is to test a single layer first. Cut one piece of the interior detail and one exterior shell to see how they nest. This small step ensures that your "clean exterior cut lines" actually align perfectly when stacked, preventing gaps that break the illusion of a solid, dimensional creature.
Misunderstanding File Compatibility and Scaling
Another area where confusion often arises is the assumption that all vector files behave identically across different software platforms. While this set offers files in SVG, DXF, and EPS, importing them into your preferred design software can sometimes alter line weights or groupings. A common error is resizing a design without checking if the interior detail layers have become too thin to cut or weed effectively. Since each design can be resized without losing quality, you might be tempted to shrink a large wall installation down to a small gift tag. However, if the smallest gap between a dinosaur's teeth becomes smaller than your blade or laser beam width, those details will vanish or fuse together.
Before committing to a full cut, inspect the "interior detail layers" at 100% zoom in your software. Ensure that the consistency across all designs holds up at your target size. If you are using a vinyl cutter for a temporary party backdrop, ensure the weeding process won't tear delicate connections. For laser cutting, verify that the stroke colors or line types correspond correctly to your machine's power and speed settings. Taking a moment to validate the file integrity prevents wasted material and ensures that the stacking effect gives a dimensional result that flat cut files can't match.
Overlooking the Importance of Adhesion and Assembly
Even with perfect cuts, the assembly phase can derail a project if not approached methodically. Many hobbyists rush the gluing process, using adhesives that are either too weak to hold the weight of stacked acrylic or too strong, causing warping in thinner woods. When creating kids' room decor or nursery art, safety and durability are paramount. A poorly bonded layer can peel off over time, posing a choking hazard for toddlers or simply ruining the aesthetic of the playroom.
A practical solution is to choose an adhesive appropriate for your specific substrate. For wood, a high-quality wood glue or CA glue (cyanoacrylate) works well, while acrylic often requires solvent cements or specialized plastic adhesives. Use alignment pins or a jig if you are producing multiple units for sale. This ensures that every layer sits flush against the one below it, maintaining the intended shadow depth. Remember, the visual impact of these dinosaur theme party backdrops or photo props relies entirely on the precision of the stack. Uneven spacing creates erratic shadows that distract from the silhouette of the dinosaur.
Choosing the Right Design for the Right Application
Not every design in a bundle is suitable for every application. While the variety in a multi-design bundle is excellent, applying a highly intricate, multi-layered T-Rex to a high-traffic area where it might get bumped frequently could lead to damage. Conversely, using a simple, two-layer Stegosaurus for a grand entrance wall might lack the visual punch you desire. It is essential to evaluate the complexity of the cut against the end-use environment.
For whimsical décor in a toddler's room, simpler shapes with fewer, thicker layers are often more durable and safer. For a professional photo prop or a sophisticated living room accent, you can leverage the full complexity of the files, utilizing the deeper stacks to catch ambient light and create dramatic shadows. Always consider the viewing distance. A large wall installation viewed from ten feet away can tolerate slightly less precision than a small handheld gift item viewed from inches away.
Final Checks Before You Cut
Before you send your job to the machine, run through a quick mental checklist. Have you verified that the file format matches your software's strengths? Did you account for material thickness in your framing plans? Are your tools sharp enough to handle the finest interior details? By addressing these questions proactively, you move from simply downloading a file to truly mastering the craft. The goal is to create pieces that bring joy and wonder, whether they are adorning a birthday party or becoming a cherished fixture in a child's bedroom. With careful planning and attention to detail, these layered vectors offer endless possibilities for creativity, allowing you to produce professional-grade results that stand the test of time.