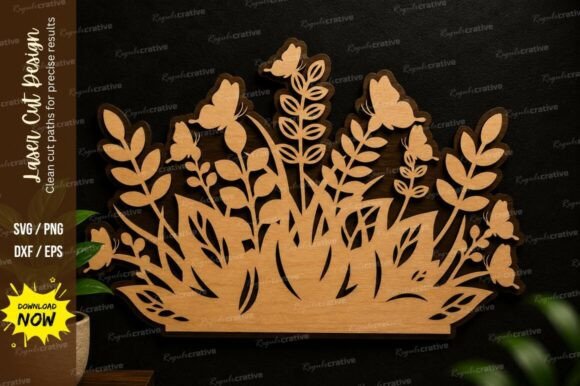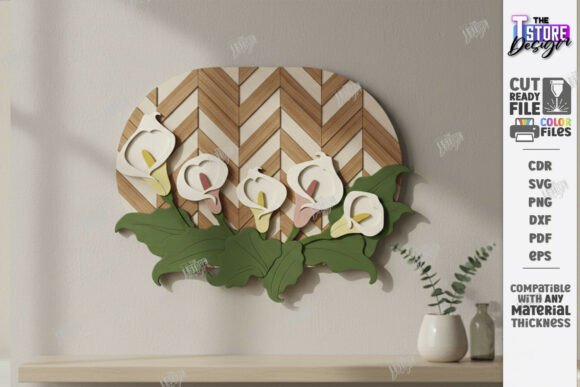
Elevate Your Space with Stunning 3D Floral Wall Art Laser Cut Flowers
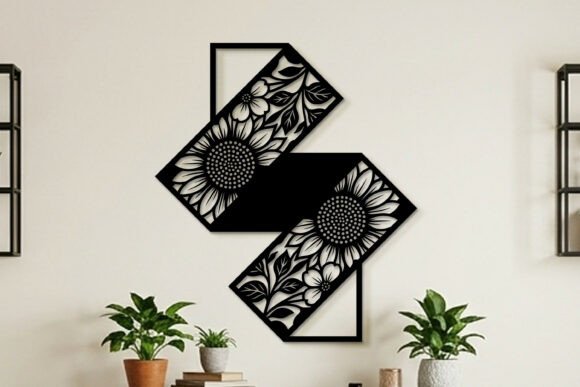
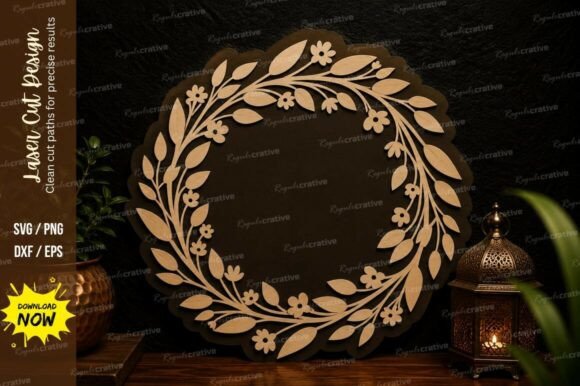
There is a distinct satisfaction in transforming a flat sheet of wood or acrylic into a vibrant, textured piece of home decor. 3D Floral Wall Art Laser Cut Flowers have become a cornerstone for creators looking to bring the beauty of a spring garden indoors without the maintenance of real plants. Whether you are crafting a door hanger featuring sunflowers and tulips or designing a sophisticated layered sign with roses and peonies, the depth achieved through laser cutting adds a professional touch that flat prints simply cannot match. However, moving from a digital download to a finished physical product involves more than just hitting "start" on your machine. Many enthusiasts, from hobbyists to small business owners, often overlook critical details in file preparation and material selection, leading to frustrating results.
Understanding the Layered Design Process
The magic of botanical home decor created via laser lies in the layering. A single 3D Floral Wall Art Laser Cut Layered Flower Sign typically consists of multiple tiers that stack to create shadow and dimension. When you purchase a Glowforge Ready Cut File or a similar digital download, you are receiving a blueprint for this assembly. The design usually includes specific instructions: red lines indicate where the machine should cut through the material, while black lines denote areas for engraving details like veins on leaves or texture on petals. Ignoring these color codes is the first common pitfall. If your software does not recognize the stroke colors correctly, you might end up engraving a cut line, leaving your pieces connected, or cutting through an area meant only for surface detailing, ruining the structural integrity of the flower.
To avoid this, always inspect your file immediately after importing it into your design software. Verify that the stroke weights are set to hairline for cuts and that the colors correspond to your machine's settings. A proactive approach saves both material and time. For instance, if you are working with a Bouquet of Flowers CNC File, ensure that the layers are grouped logically. This makes it easier to assign power and speed settings appropriate for the thickness of your chosen wood or acrylic.
Navigating File Formats and Software Compatibility
One of the most frequent sources of error involves file format compatibility, particularly when using specialized software like LightBurn. While SVG files are ubiquitous and work well in many programs, they can sometimes cause dimension distortion in LightBurn. This is a technical nuance that can wreak havoc on a project requiring precise alignment. If the dimensions of your Geometric Wood Wall Hanging shift even slightly, the layers will not stack flush, resulting in a crooked or gapped final product.
The solution is straightforward but often overlooked: prioritize the DXF file format when working with LightBurn. Most comprehensive digital packages, including those for Spring Themed Wall Art, include a zip archive containing SVG, EPS, PNG, PDF, and DXF files. By selecting the DXF version, you ensure that the vector paths remain true to their original dimensions, guaranteeing that your sunflower petals align perfectly with the base layer. If you find yourself in a situation where the DXF file is missing or incompatible with your specific workflow, do not hesitate to reach out to the creator. Many designers are willing to provide alternative file types or specific PNG sizes upon request to ensure your success.
Material Selection and Assembly Techniques
Even with a perfect file, the choice of material can make or break your Floral SVG Digital Download project. Beginners often assume that any wood will suffice, but varying densities and grain patterns affect how cleanly the laser cuts and engraves. For intricate designs like calla lilies or delicate rose petals, a high-quality birch plywood or smooth MDF is often superior to rough-sawn lumber, which can char unevenly. Furthermore, the thickness of the material dictates the visual impact of the 3D effect. Using materials that are too thin may result in a flat appearance, while materials that are too thick can make the assembly bulky and difficult to hang.
When assembling your Door Hanger or wall sign, adhesive choice is another critical factor. Standard white glue can warp thin wood layers if applied too heavily. Instead, consider using a fast-setting wood glue or a strong double-sided tape designed for crafts. Apply adhesive sparingly to the contact points indicated in the design layers. This ensures a clean bond without squeeze-out that could ruin the finish. Additionally, pre-finishing your wood before assembly can sometimes yield cleaner edges, as sanding a fully assembled 3D piece can be challenging without damaging the delicate raised details.
Maximizing Efficiency for Small Businesses
For entrepreneurs and freelancers selling Botanical Home Decor, efficiency is key to profitability. A common mistake is treating every order as a unique setup rather than optimizing the workflow. Batch processing similar cuts can save significant machine time. If you are producing multiple Tulip or Peony signs, nest the designs on your material sheet to minimize waste. Also, keep a log of the power and speed settings that work best for specific materials and file types. This reference library prevents the need for constant test cuts, allowing you to move from file to finished product with greater confidence.
Communication with customers is equally important. If you are selling these items, be transparent about the handmade nature of the product. Slight variations in wood grain are features, not bugs, adding to the charm of the piece. However, consistency in assembly quality is non-negotiable. Double-check that all layers are secure and that the hanging mechanism is robust enough to support the weight of the stacked wood. A falling sign is a safety hazard and a customer service nightmare.
Final Checks Before You Cut
Before you commit to cutting your final piece, perform a dry run. Most laser software offers a simulation mode that shows the path the laser will take. Use this to verify that no unexpected lines appear and that the cut order makes sense. Ensure your material is flat on the bed; warped wood can lead to inconsistent focus and poor cut quality. Finally, remember that support is available. If you encounter issues with a Digital Download or need clarification on how to adapt a design for a different machine, messaging the seller is often the fastest route to a solution. Designers want their files to look good in your home or shop, and many are happy to offer guidance on color adjustments or size modifications.
By paying attention to these details—file formats, material choices, assembly methods, and workflow optimization—you can transform a simple digital file into a breathtaking piece of art. Whether you are decorating your own living space or building a inventory for your Etsy shop, mastering the nuances of 3D Floral Wall Art ensures that your creations stand out for their quality and craftsmanship. Take the time to learn the tools, respect the process, and enjoy the rewarding experience of bringing digital flowers to life in the physical world.